 Skagit County
 Windows Built for How Concrete, WA Actually Weathers
Concrete sits up the Skagit River valley, tucked against forested hillsides with the North Cascades rising close by. That setting means more tree cover, more shade, and more standing moisture on siding, trim, and window frames than you'll find in open, sunnier parts of the county. Combine that with Skagit County's broader pattern of driving rain, high humidity, and a moss season that can run most of the year, and you get windows that are under near-constant moisture pressure — even when it isn't actively raining.
Standard, off-the-shelf window replacement doesn't always account for that. A window that's a fine fit in a dry, low-humidity climate can still fail early here if it's the wrong frame material, poorly flashed, or sized without accounting for an older home's out-of-square rough opening. Custom window work means we start from the actual conditions at your house — the framing, the exposure, the shade — instead of forcing a stock size and hoping it holds up.
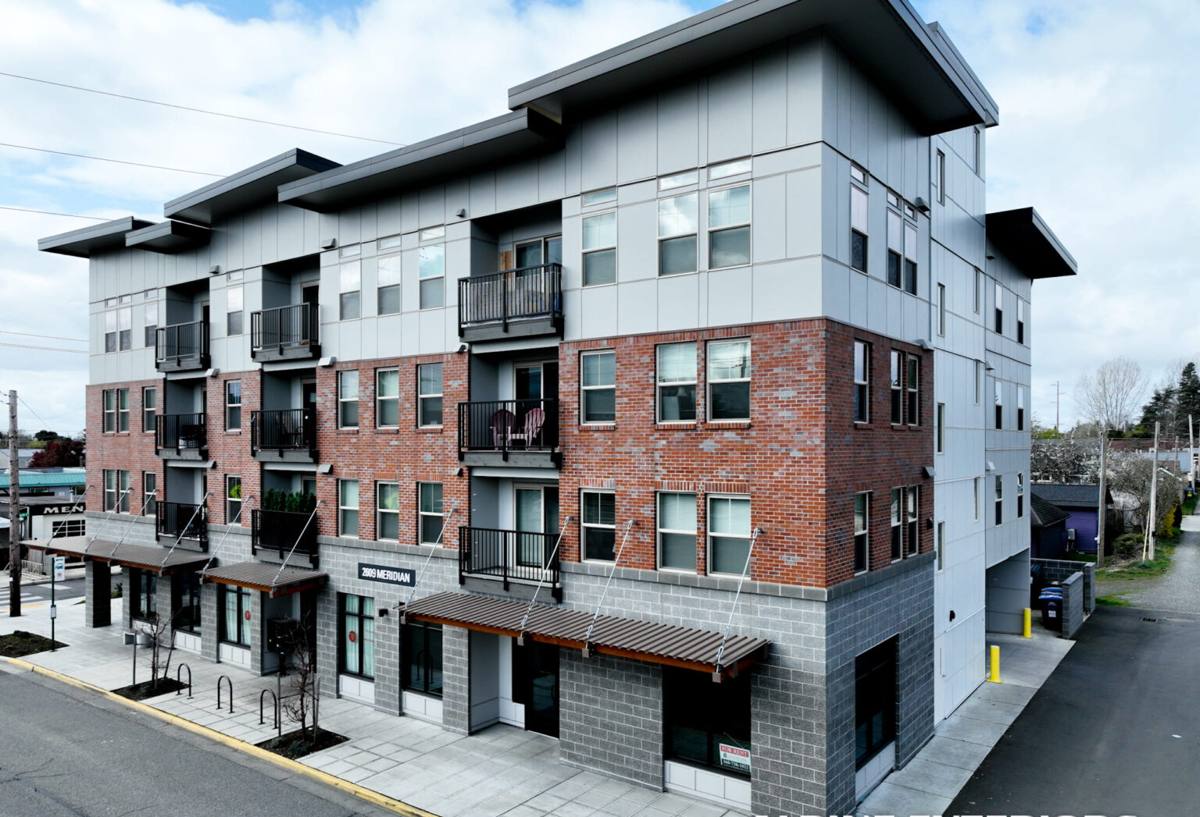
What "Custom" Actually Means for a Concrete Home
A lot of homeowners hear "custom windows" and assume it means expensive or fancy. In practice, it usually just means the window is built or selected to match openings and conditions that a big-box replacement window wasn't designed for. That's common in a town like Concrete, where housing stock spans older wood-frame homes, cabins with additions built over the years, and newer builds squeezed onto sloped or wooded lots.
Common reasons a Concrete home needs custom sizing or specs
- Older homes with rough openings that have shifted slightly out of square over decades
- Additions or remodels where the opening doesn't match any standard manufacturer size
- Rooms with heavy tree shade that hold moisture longer after rain and need better drainage detailing
- North- or west-facing walls that take the brunt of driving rain and wind-driven moisture
- Homeowners wanting larger glass areas to bring in light in a heavily wooded setting, which changes structural and flashing requirements
None of that requires a specialty showroom — it requires accurate measurement, honest assessment of the opening, and installation detailing that matches the exposure. That's the actual work of "custom."
What We Typically Find on Window Jobs in This Area
After years of exterior work throughout Skagit County, including homes in and around Concrete, a handful of issues show up again and again:
- Sill and frame rot from years of water sitting at the bottom corners of the window, often hidden behind trim until it's advanced
- Moss and mildew staining on frames and sills in shaded, north-facing rooms — usually a moisture problem more than a cosmetic one
- Fogged or failed double-pane glass where the seal has broken and moisture has gotten between the panes
- Drafts and condensation on older single-pane or early-generation double-pane wood windows, especially where the surrounding wall isn't well insulated
- Poor original flashing — house wrap or building paper that wasn't properly lapped over the window flange, which sets up slow water intrusion that isn't visible until interior damage shows up
Most of these aren't a reason to panic, but they are reasons to get a window replaced correctly rather than patched again.
What a Correct Window Installation Involves
The window itself is maybe half the job. The other half — the part that actually determines whether it lasts — is the installation detailing around it. In a climate that sees this much driving rain and prolonged dampness, we treat every one of these steps as non-negotiable:
- Remove and inspect the opening. We pull the old window and check the framing, sill, and sheathing for hidden rot or moisture damage before anything new goes in.
- Repair the substrate. Any soft or damaged framing gets replaced — never covered over.
- Install proper flashing. Self-adhered flashing tape at the sill and jambs, correctly lapped with the house wrap or weather-resistive barrier, so water is directed out and down, not trapped behind the window.
- Set and shim the window level, plumb, and square. A window that's slightly racked will bind, leak at the corners, or wear its seals unevenly.
- Insulate the gap between the window frame and rough opening with low-expansion foam or backer rod — not packed too tight, not left open.
- Seal and trim. Exterior caulking at the right joints (and not the wrong ones — some joints need to stay open to let moisture escape), then trim work that sheds water away from the wall.
Skip any one of these steps and you can end up with a brand-new window that still leaks or rots the surrounding wall within a few years — the window gets blamed, but the installation was the actual failure point.
Choosing the Right Frame Material for This Climate
There's no single "best" window material — it depends on your budget, the home's style, and how much upkeep you want to take on. Here's how the common options compare for a damp, shaded, moss-prone setting like Concrete:
| Frame Material | Moisture Performance | Maintenance | Typical Fit |
|---|---|---|---|
| Vinyl | Won't rot; handles moisture well | Low — occasional cleaning | Most budget-conscious replacements |
| Fiberglass | Excellent — very stable in wet/dry cycling | Low | Homes wanting long-term durability, larger openings |
| Wood (unclad) | Requires diligent upkeep in this climate | High — repainting/staining on a schedule | Historic-style homes prioritizing appearance |
| Wood-clad (exterior vinyl or aluminum over wood interior) | Good — exterior shell resists weather | Moderate | Homeowners wanting a wood interior look with less exterior upkeep |
| Aluminum | Durable but can transmit cold and condensation without thermal breaks | Low | Less common for residential in this climate |
For most Concrete homes dealing with heavy tree shade and prolonged dampness, we lean toward vinyl or fiberglass for straightforward replacements, and reserve unclad wood for homes where matching an existing historic look is the priority — with a clear conversation up front about the maintenance that comes with it.
Our Process, Start to Finish
1. On-site assessment
We look at each opening individually — not just the window, but the framing, siding condition, and exposure to weather. This is where we catch hidden rot or drainage issues before they become part of the job.
2. Accurate measurement and product selection
We measure every opening precisely and walk you through material and glass options based on your budget, the room's exposure, and how the home is used.
3. Scheduling around the weather
Window installation means the wall is open to the elements for a stretch of time. We plan installs around forecasted dry windows where possible, and we don't leave an opening exposed overnight if we can help it.
4. Installation and flashing detail
Full removal, framing repair as needed, correct flashing and sealing, and careful setting of the new window — the steps outlined above, done the same way every time.
5. Final inspection and cleanup
We walk the finished window with you, check operation and seals, and clean up debris before we leave.
What Drives the Cost
Every job is different, but these are the main factors that move the price up or down:
| Factor | Why It Matters |
|---|---|
| Frame material | Vinyl is generally the most affordable; fiberglass and wood-clad cost more upfront but can mean less long-term upkeep |
| Opening condition | Hidden rot or framing damage found during removal adds repair work before the new window goes in |
| Window size and glass type | Larger openings, custom shapes, or upgraded glass (extra insulating layers, tinting) increase cost |
| Number of windows | Doing multiple windows in one visit typically reduces the per-window labor cost |
| Access and site conditions | Second-story openings, tight lot access, or extensive trim work add time |
We give straightforward, written estimates broken down by these factors so you know exactly what you're paying for — not a vague lump sum.
Why It Matters That We Already Work in Concrete
Concrete is a small, rural community, and that has real practical effects on a construction project. Material deliveries, crew scheduling, and even the weather window you have to work with can look different here than in a larger Skagit County town. A crew that's already comfortable working this part of the county isn't guessing about travel time, isn't unfamiliar with the tree cover and terrain around local properties, and isn't seeing a rural driveway or a shaded, moss-heavy exposure for the first time.
That familiarity shows up in small ways that add up: showing up prepared for the actual site conditions, planning around this area's rain patterns instead of a generic forecast, and knowing what kind of moisture issues to expect before we even start removing the old window.
Keeping Your New Windows Performing Long-Term
A correctly installed window in a good frame material should need very little from you. Still, a little seasonal attention goes a long way in this climate:
- Rinse frames and sills periodically to clear pollen, dirt, and moss spores before they take hold, especially on shaded, north-facing windows
- Check exterior caulking once a year for cracking or gaps, particularly after a hard winter
- Keep gutters and downspouts clear so overflow doesn't run down onto window heads
- Trim back branches or vegetation that keep a window in constant shade and dampness
- Operate each window a few times a season so weatherstripping and hardware don't seize up from disuse
- Watch for condensation between panes — it's a sign the seal has failed and the glass unit needs replacing, not just the whole window
If you're weighing whether to repair, replace, or hold off on window work at your Concrete home, we're glad to take a straightforward look and tell you honestly what we see — no pressure, no upsell. Use the form below to request a free estimate.