 Skagit County
 Siding Built for Concrete's Foundation and Its Weather
Concrete sits along the Skagit River corridor, far enough inland to escape the worst of the coastal wind but close enough to the county's marine air pattern that homes here still take a beating from moisture. A lot of the housing stock out this way is built on slab-on-grade or shallow stem-wall foundations rather than deep crawlspaces, which changes how water moves around a house — splash-back off a concrete slab or apron behaves differently than splash-back off a raised wood floor system, and it hits the bottom few inches of your siding harder and more often. Add in Skagit County's long moss season, driving rain off the valley, and the salt-tinged air that reaches inland on a west wind, and you've got a climate that is genuinely hard on exterior cladding, whatever the foundation type.
When we install siding on a Concrete home, we're not just swapping old boards for new ones. We're accounting for how this specific foundation style sheds and holds water at grade, how the local weather pattern loads moisture into the wall assembly over a wet season, and how to detail the transition between concrete and siding so it survives decades instead of years.
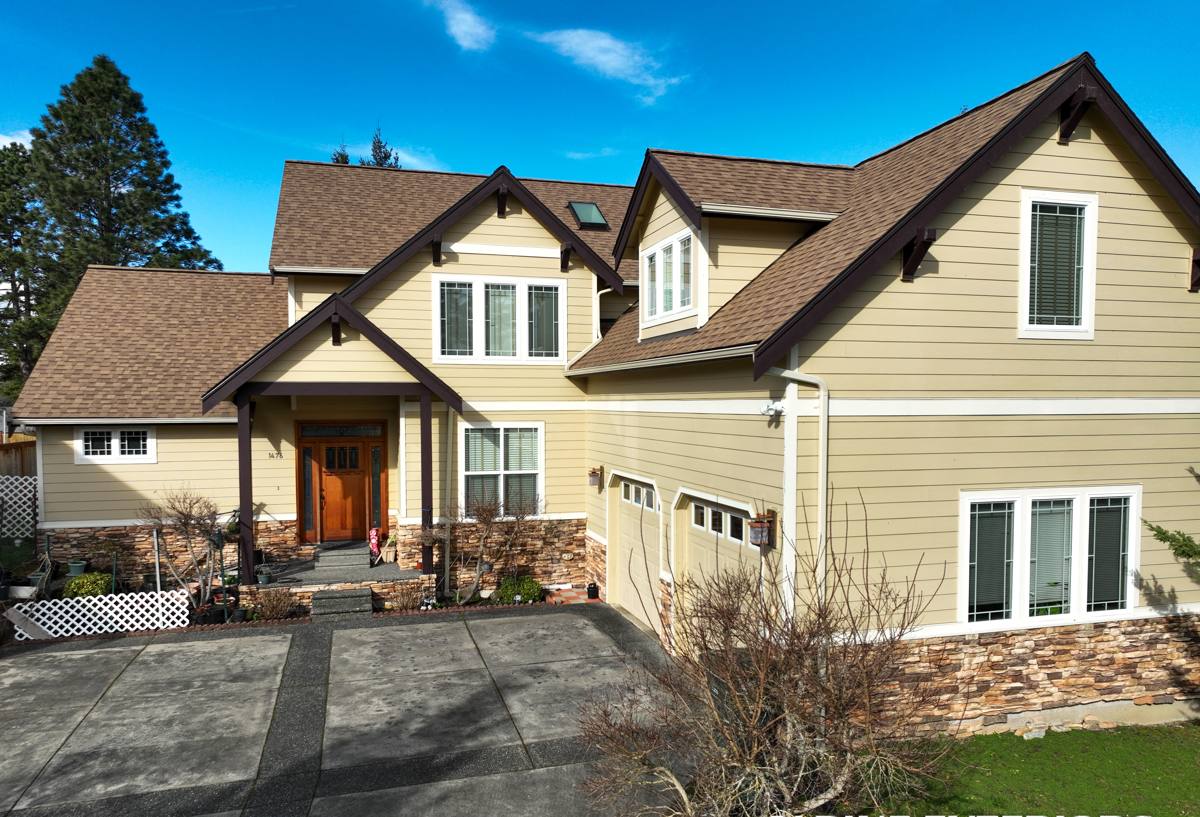
Why the Concrete-to-Siding Transition Is the Detail That Matters Most
On a slab or stem-wall home, the bottom edge of the siding sits close to grade and close to a hard, non-absorbent surface. That's the zone where almost every premature siding failure we see starts — not because the siding itself is bad, but because the transition detail was rushed or ignored.
What goes wrong when this detail is skipped
- Siding installed with insufficient clearance above the concrete slab, foundation, or paved surface, so rain splash and standing water wick straight into the bottom edge of the board
- No weep path for water that gets behind the cladding, so moisture sits against the wall assembly instead of draining out
- Caulk used as the primary defense at the base of the wall instead of proper flashing and clearance — caulk fails, flashing doesn't
- Trim boards or starter strips installed tight to concrete with no gap, which traps organic debris and holds moisture right where moss and mildew take hold fastest
Every one of these is preventable with correct clearance, drainage, and flashing at the base of the wall — done once, at installation, not patched later.
What a correct base-of-wall detail looks like
We hold siding clearance above concrete slabs, patios, and grade to manufacturer spec, install proper base flashing or a weep screed where the assembly calls for it, and make sure the water-resistive barrier laps correctly into that transition rather than stopping short of it. On homes with an attached slab, porch, or garage apron, we look at how water sheets off those hard surfaces during a heavy Skagit Valley rain event and make sure the siding above it isn't in the splash zone without protection.
Why James Hardie Is the Right Material for This Application
We install James Hardie fiber cement exclusively, and a concrete-foundation home is one of the clearest cases for why. Fiber cement doesn't absorb and swell the way wood-based products can when it sits near a hard, moisture-holding surface. It's dimensionally stable in the freeze-thaw and wet-dry cycling that's normal for a Skagit County winter, and it doesn't feed the moss and mildew growth that this region's long wet season practically guarantees on any organic siding surface. James Hardie's ColorPlus factory finish also holds up against the salt-tinged air and UV cycling here far better than field-applied paint, which matters most in exactly the low-clearance, high-splash zones a concrete foundation creates.
We don't install LP SmartSide, vinyl, Cemplank, Allura, primed spruce, or cedar. Each of those has a legitimate place in the market, but none of them holds up as consistently in this region's combination of moss season, driving rain, and salt air — and none of them gives us the factory-cured finish and engineered moisture resistance that a base-of-wall detail like this really needs. Hardie's HZ5 product line in particular is engineered for climates with exactly this kind of exposure.
Our Installation Process on Concrete-Foundation Homes
- Assessment of the foundation and grade. We look at how the slab or stem wall sheds water, where downspouts discharge relative to the walls, and where splash-back is heaviest.
- Removal and sheathing inspection. Old siding comes off and we inspect the sheathing and water-resistive barrier underneath — this is often the first time in years anyone has actually seen the condition of the wall assembly.
- Repair before cover-up. Any rot, soft sheathing, or failed barrier gets fixed. We don't install new siding over a wall assembly we know is already compromised.
- Weather-resistive barrier and flashing. A correctly lapped barrier goes on with flashing at every penetration, window, door, and — critically on this foundation type — the base of the wall.
- Clearance-correct installation. Hardie boards go up with manufacturer-spec clearance above concrete, grade, and paved surfaces, fastened per the engineered installation spec.
- Trim, caulking, and finish. Trim is installed to shed water away from joints, not trap it, and factory-finished Hardie boards mean touch-up paint at cut ends is the only field painting required.
Moss, Mildew, and the Long Wet Season
Skagit County's moss season isn't a two-week nuisance — it's a months-long condition that settles into any surface offering it a foothold: rough-sawn wood siding, deep butt-joint shadow lines, or any spot where water sits instead of draining. A concrete-adjacent base of wall is one of the higher-risk zones for this on any home, simply because it's closer to grade, closer to splash, and slower to dry between rain events.
Correct clearance and drainage detailing at installation does most of the work here. Beyond that, homeowners can extend the life of their siding with a few habits:
- Keep gutters clear so downspouts aren't dumping extra water directly onto the wall or adjacent slab
- Trim back vegetation and keep planting beds from piling soil or mulch against the base of the siding
- Rinse visible moss or algae growth off siding surfaces before it gets a deep foothold, using a soft wash rather than high-pressure spray that can drive water behind the boards
- Walk the base of the wall once a year and check that caulk joints and trim haven't opened up
Cost Factors for Siding Installation Near Concrete Foundations
| Factor | Why it affects cost |
|---|---|
| Extent of hidden water damage | Sheathing or framing repair found during tear-off adds material and labor beyond a straightforward re-side |
| Foundation and grade condition | Additional flashing, weep detailing, or minor grading work to correct clearance issues at the base of the wall |
| Home size and wall complexity | Square footage, number of corners, and window/door count all drive material and labor time |
| Hardie product line selected | Lap siding, panel systems, and trim/accent combinations vary in material cost |
| Site access | Tight side yards, attached slabs, or limited staging area near the foundation can slow production |
We won't quote a firm number without seeing the house, but these are the variables that move a bid up or down, and we walk through each one with homeowners before work starts.
What a Homeowner Should Check Before Hiring Anyone for This Job
- Do they inspect and address the base-of-wall clearance and drainage detail, or just match the old siding's placement?
- Will they open up the wall assembly and show you what's underneath before covering it back up?
- Do they follow the manufacturer's published installation instructions for fastening, clearance, and flashing — and can they explain them?
- Are they familiar with how this region's rain and moss season actually behaves against a concrete-adjacent wall, not just siding installation in general?
- Is the warranty a real manufacturer-backed, transferable warranty, or just a verbal promise from the crew?
Why a Crew That Already Works in Concrete Matters
A crew that has worked on homes throughout Concrete and the surrounding Skagit Valley has already seen how the local foundation styles, grading patterns, and weather interact — they're not learning the region's quirks on your house. That familiarity shows up in the details: knowing to check attached slabs and porches for splash exposure without being told, recognizing early moss growth patterns as a sign of a drainage problem rather than just a cosmetic one, and understanding that a "close enough" clearance detail here tends to fail faster than it would in a drier part of the state.
If you're planning a siding replacement or new installation on a concrete-foundation home in Concrete, we'd like to take a look and give you a straight, no-pressure assessment of what your house actually needs. There's a free estimate form below — it costs nothing to have us walk the property and tell you what we see.