 Skagit County
 Why Conway Siding Takes a Beating
Conway sits low in the Skagit River delta, close enough to the water that homes here deal with a different mix of weather stress than towns further inland. Salt-laden air moves in off the estuary and Skagit Bay, driving rain comes in sideways during fall and winter storms, and the shaded, damp lots that are common in this part of Skagit County stay wet long after a storm has passed. That combination is hard on any exterior wall covering, and it is exactly why siding repair calls in Conway tend to look different from what we see in drier parts of the county.
Salt air accelerates corrosion on fasteners, flashing, and trim. Driving rain finds every gap in caulking, every hairline crack, and every spot where siding meets a window or door and was not sealed correctly the first time. And moss season — which in this part of Washington can run most of the year on north-facing walls and shaded siding runs — holds moisture against the surface far longer than a quick rain event would on its own. None of this means Conway homes are doomed to constant repairs. It means the repairs need to actually address moisture, not just cover it up.
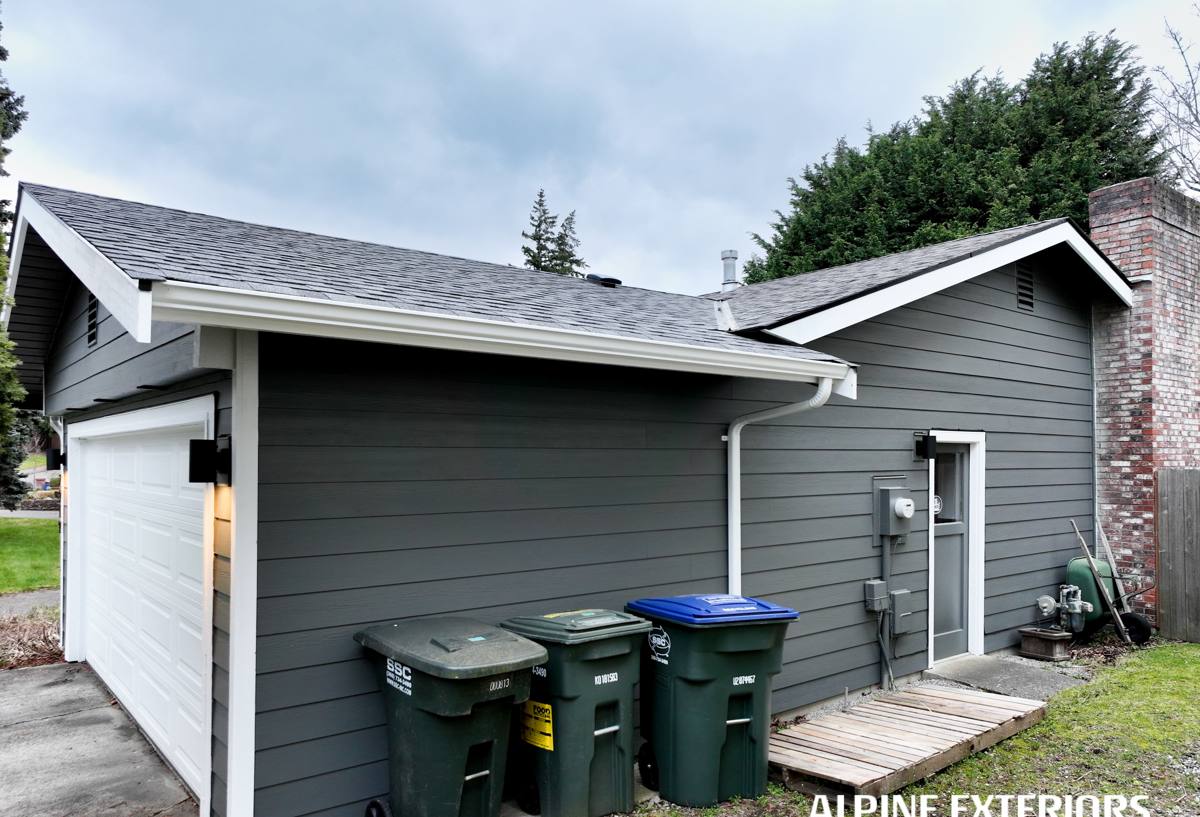
Signs a Conway Home Needs Siding Repair
Most siding problems start small and stay hidden until they are not. Homeowners in this area should watch for:
- Soft or spongy spots when you press on the siding, especially near the bottom of walls or below windows
- Visible cracking, splitting, or buckling panels
- Persistent moss or algae growth that keeps returning after cleaning
- Peeling or bubbling paint, which usually means moisture is trapped underneath
- Gaps or separation at seams, corners, or where siding meets trim
- Rust streaks running down from nail heads or metal flashing
- A musty smell or visible staining on interior walls that share an exterior wall
- Rot at the bottom edge of siding boards, especially near grade or under a deck
Any one of these on its own might be minor. Several together, or any sign of soft wood or interior staining, usually means water has been getting behind the siding for a while and the damage is not limited to what you can see from the outside.
What a Correct Siding Repair Actually Involves
Diagnosing the Real Problem First
The most common mistake in siding repair is treating the visible damage as the whole problem. A cracked board or a soft spot is usually a symptom of something behind the siding — failed flashing, a caulk joint that gave out years ago, or a water management detail that was never right to begin with. A repair that just swaps the damaged piece without checking the substrate, the house wrap, and the flashing underneath it tends to fail again within a season or two, especially with the amount of driving rain this area gets.
Before we touch a panel, we pull back enough siding to see what is actually happening underneath. That means checking for soft or delaminated sheathing, confirming the house wrap is intact and lapped correctly, and tracing water paths back to their actual entry point rather than the spot where the damage happens to show up.
Matching Existing Siding Correctly
Repairs also need to match the existing siding in profile, reveal, and finish, or the patch will stand out and can create its own water path if the overlap or joint isn't cut correctly. This is easier with factory-finished fiber cement products that have consistent batch coloring than with materials that fade unevenly or were field-painted years ago.
Flashing and Water Management
Nearly every recurring siding failure we see traces back to flashing — at window and door heads, at deck ledgers, at roof-to-wall transitions, and at the bottom termination of the siding near grade. A repair that doesn't correct the flashing detail is a repair that will need to be done again.
Repair or Replace? How to Think About It
Not every siding problem calls for a full re-side, and not every homeowner needs to be sold one. The right call depends on how widespread the damage is and what's causing it.
| Situation | Repair is usually enough | Replacement should be considered |
|---|---|---|
| Damage location | Isolated to one wall, corner, or a handful of boards | Spread across multiple walls or the whole house |
| Underlying cause | A single failed flashing or caulk joint | Systemic water intrusion behind large sections |
| Material condition | Rest of the siding is sound and holding paint or finish well | Siding is chalky, delaminating, or original material is at end of life |
| Age of siding | Well within expected service life | Original install is decades old with recurring issues |
| Moisture in sheathing | Localized, dries out once repaired | Widespread rot found once siding is pulled back |
We'll tell you honestly which category your home falls into. If a targeted repair will genuinely solve the problem, that's what we recommend — a full re-side isn't the right answer just because it's more work.
Why the Repair Material Matters
What you patch a wall with matters as much as how you patch it, especially in a climate like this one. We only work with James Hardie fiber cement siding, and that shapes how we approach repairs on every home we work on in Conway, including houses that currently have a different material on them.
Fiber cement doesn't absorb water the way wood-based products do, and it doesn't have the long-term dimensional movement issues that come with vinyl expanding and contracting in temperature swings. When we're repairing an existing Hardie installation, we can match the ColorPlus factory finish and HZ product line so the patch blends in and performs the same way the rest of the wall does — same moisture resistance, same finish durability, same expected lifespan.
When a home has a different siding material and the damaged section is beyond a clean patch, we'll be straight with you about the trade-offs of continuing to maintain that material versus transitioning the repaired section — or eventually the whole wall — to fiber cement. We won't install LP SmartSide, vinyl, cedar, or primed spruce as part of a repair, because we don't think those products hold up to this climate the way we'd want to stand behind, and we'd rather tell you that upfront than sell you a patch we don't believe in.
Our Siding Repair Process
- Inspection. We look at the damaged area and the surrounding siding, and we check flashing, caulking, and house wrap wherever we can access it.
- Honest assessment. We tell you what we found, what's causing it, and whether a repair will actually resolve it long-term.
- Written estimate. A clear scope of work and price before anything is touched.
- Repair work. Removal of damaged material, correction of any underlying flashing or moisture issue, and installation of matched siding.
- Cleanup and walkthrough. We clean the site and walk the repair with you before we call the job done.
Why a Crew That Already Works Conway Matters
Siding repair in a coastal, low-lying part of Skagit County isn't quite the same job as siding repair on a dry hillside lot. A crew that already works in and around Conway knows what moss growth patterns to expect on north- and east-facing walls, understands how salt air affects fasteners and metal flashing over time, and has seen how driving rain off the delta finds weak points that wouldn't show up as fast in a more sheltered location. That local pattern recognition shortens the diagnosis phase and helps make sure the repair addresses the actual regional cause of the failure, not just a generic fix.
It also matters for scheduling and follow-up. A contractor who's regularly in the area can get to a developing problem — a soft spot, a moss patch that's spreading, a cracked board after a storm — before it turns into a bigger repair.
What Siding Repair Typically Costs
Costs vary based on the scope of damage, how much of the wall needs to come apart to fix the underlying cause, and whether flashing or sheathing needs to be addressed along with the visible siding. We don't post fixed prices because every repair is different, but broadly:
| Cost factor | Why it matters |
|---|---|
| Extent of visible damage | A few boards costs far less than a full wall section |
| Condition of sheathing behind siding | Rotted sheathing adds material and labor beyond the siding itself |
| Flashing correction needed | Fixing the water path is often more involved than swapping siding |
| Access | Second-story walls, tight side yards, or areas near decks take more time |
| Color and profile match | Matching an older or discontinued finish can take extra sourcing |
We'll walk you through the specific factors driving your quote so there are no surprises.
Keeping Repaired Siding in Good Shape
Once a repair is done right, a little regular maintenance keeps it that way, particularly with the moss and moisture this area sees:
- Keep gutters clear so overflow doesn't run down the siding face
- Trim back vegetation and tree cover that keeps walls shaded and damp
- Gently rinse moss and algae buildup before it takes hold, rather than letting it sit for a season
- Re-caulk high-movement joints (around windows and trim) on a regular schedule, not just when you notice a gap
- Walk the exterior once or twice a year and check the same spots that failed before
If you're seeing soft spots, cracking, moss buildup, or water staining on a Conway home, we're happy to take a look and tell you honestly what's going on and what it will take to fix it right. Request a free, no-pressure estimate using the form below.