 Skagit County
 New-Construction Windows: What the Term Actually Means
"New-construction window" isn't just a marketing phrase — it describes a specific type of installation. These are windows with a nailing fin (also called a nail flange) built into the frame, designed to be installed into a bare, unfinished rough opening before siding or interior wall finishes go on. That's different from a "replacement" or "pocket" window, which gets inserted into an existing frame in a home that's already finished and occupied. If you're building new in Clear Lake, doing an addition, or fully re-framing a wall down to the studs, you want a new-construction window and a new-construction installation sequence — not a retrofit shortcut.
The distinction matters because the two methods handle water management completely differently. A replacement window relies on the existing frame and trim to shed water. A new-construction window relies on the crew building a correct, layered water path from the sill pan up through the flashing tape and out past the siding. Get that sequence wrong, and the window itself can be a perfectly good product while the wall around it still fails.
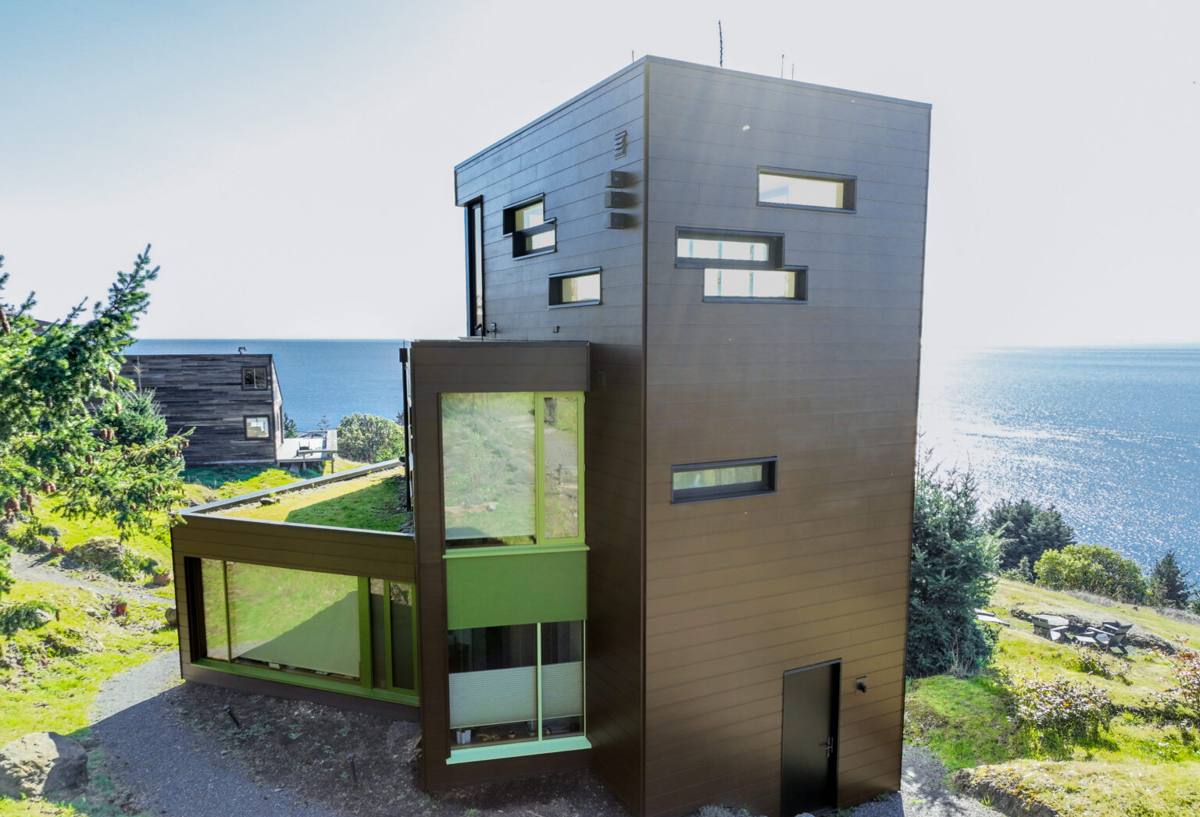
Why Clear Lake Homes Need the Details Done Right
Skagit County sees a lot of moisture move through a building envelope over a typical year — long stretches of driving rain, humid marine air off the Sound, and short, dark winter days that keep siding and trim damp for extended periods. That combination is exactly what grows moss and algae on north-facing walls and window returns, and it's exactly what finds any gap in flashing or sealant over time. None of that is unique to Clear Lake specifically, but it's the reality every home in this part of the county is built into, and it's why we don't treat window installation as a "set it and caulk it" job.
Driving Rain and Wind-Driven Water
Wind-driven rain doesn't just fall straight down — it pushes sideways into wall assemblies, especially around penetrations like window openings. A new-construction install has to assume water will reach the nailing fin and flashing at some point, and give that water a way back out rather than trying to keep it out entirely with sealant alone.
Moss, Algae, and Prolonged Dampness
A long moss season means anything that traps moisture against wood trim or sheathing — bad flashing laps, missing sill pans, caulk used as the only defense — gets exploited faster here than in a drier climate. Correct flashing shingle-lap order (each layer overlapping the one below it, shedding water downward and outward) is not optional detailing in Skagit County; it's the difference between a window that's fine in ten years and one that's rotting the sheathing behind it.
What a Correct New-Construction Window Install Involves
There's a specific order of operations that makes a new-construction window installation watertight, and skipping or reordering steps is the single most common cause of window-related water damage we see in newer homes.
1. Rough Opening Prep
The opening gets checked for square, level, and correct sizing before anything else happens. An opening that's out of square stresses the window frame, can bind operating hardware, and makes it harder to get consistent sealant and flashing contact all the way around.
2. Sill Pan Flashing
A sloped, sealed sill pan goes in first, before the window ever sets. This is the single most important step in the whole sequence — it's the backstop that catches any water that gets past the window itself and directs it back outside instead of into the wall cavity. A window installed directly onto bare sheathing with no sill pan is a liability no matter how good the window is.
3. Setting the Window and Fastening the Nailing Fin
The window is set into the pan, shimmed and squared, then fastened through the nailing fin per the manufacturer's schedule. Fastener spacing and type affect both structural performance and the manufacturer's warranty, so this isn't a step to eyeball.
4. Flashing Tape in the Correct Shingle-Lap Order
Flashing tape goes over the fin at the sides first, then across the top, integrating with the weather-resistive barrier (WRB, i.e., the house wrap) in proper shingle-lap fashion so every layer sheds water onto the layer below it. The bottom of the opening is intentionally left able to drain — it is never fully sealed across the bottom, because that's exactly where you want any water that does get in to be able to escape.
5. Insulation, Air Sealing, and Interior/Exterior Trim
The gap between the rough opening and the window frame gets filled with low-expansion foam or backer rod and sealant — not packed tight with fiberglass, which does little to stop air movement. Exterior and interior trim go on last, once the water management layers are already doing their job underneath.
Choosing Window Materials and Specs for This Climate
Material choice affects long-term maintenance more than it affects initial water-tightness, since flashing and installation quality are what actually keep water out. But material still matters for how a window holds up to years of Skagit County humidity and rain exposure.
| Frame Material | How It Handles Our Climate | Maintenance Reality |
|---|---|---|
| Vinyl | Won't rot or corrode; performs consistently in damp, mild conditions | Low — occasional cleaning, no painting or sealing needed |
| Fiberglass | Very stable dimensionally, holds up well to repeated wet/dry cycles | Low — paintable if desired, but not required |
| Wood-clad | Good performance if cladding and joints stay sealed; interior wood look | Higher — exterior cladding seams and any exposed wood need monitoring |
| Aluminum (uninsulated) | Conducts cold and encourages interior condensation in our damp winters | Moderate — condensation management becomes an ongoing issue |
For most new construction in this area, we steer homeowners toward vinyl or fiberglass for the energy performance and low maintenance, reserving wood-clad for projects where the interior wood appearance is a priority the homeowner is willing to maintain. We're not going to tell you a particular brand is bad — we'll tell you honestly what each option asks of you in upkeep and let you weigh that against the look and budget you want.
Glass Package and Energy Code
Washington's energy code sets minimum U-factor requirements for new construction, and Skagit County permitting will check glass specs against those requirements. We spec glass packages that meet or beat code minimums as a matter of course, and we can walk you through what U-factor and SHGC (solar heat gain coefficient) numbers actually mean for comfort and heating bills in a marine climate like this one, rather than just handing you a spec sheet.
Our Process Working With Builders in Clear Lake
New-construction window installation happens at a specific point in the build sequence, and timing matters as much as technique. We coordinate directly with the general contractor or framing crew so windows go in once the WRB is on and rough openings are framed to spec, but before siding closes everything up.
Typical Sequence
- Rough opening review against window schedule and manufacturer specs
- Sill pan and flashing installation
- Window setting and fastening
- Flashing tape integration with the WRB
- Walk-through with the builder before siding closes the wall
That last step — a walk-through before the wall gets covered — is one we insist on. Once siding is on, a flashing mistake is invisible until it shows up as a stain or soft spot years later. Catching it before closure costs minutes; catching it after costs a siding teardown.
Common Mistakes We Fix or Catch on New Builds
Most of what causes trouble later isn't a bad window — it's a shortcut taken during installation. We routinely see the following on jobs where another crew's work is being corrected or where we're brought in mid-build to check what's already happened:
- Missing or improperly sloped sill pans, leaving the window sitting directly on bare sheathing
- Flashing tape applied out of shingle-lap order, so water gets directed into the wall instead of away from it
- Sealant used as the primary water barrier instead of proper flashing, which fails once the sealant ages and cracks
- Nailing fins fastened with the wrong spacing or fastener type, weakening the connection and voiding warranty terms
- Bottom of the rough opening sealed solid, trapping any water that does get in with nowhere to drain
- Gaps around the frame packed too tight with insulation, restricting drainage and airflow paths
Cost Factors for New-Construction Window Installation
Pricing on a new build depends on more than window count. The factors below are the ones that actually move the number, and we walk through all of them on-site before giving a firm quote.
| Factor | Why It Affects Cost |
|---|---|
| Window size and count | More openings and larger units mean more material and labor hours |
| Frame material | Vinyl is generally the most economical; fiberglass and wood-clad cost more upfront |
| Glass package | Higher-performance glass (lower U-factor, specialty coatings) adds cost per unit |
| Wall height and access | Upper-story or hard-to-access openings take longer to flash and set correctly |
| Coordination timing | Installing on schedule with the framing crew is more efficient than returning later for stragglers |
We'd rather give you a realistic range up front, tied to your actual plan set, than a number that looks good on paper and changes once we're on-site. For a typical new-construction project, expect the window package (materials plus installation) to be one of the more significant exterior line items in the build — it's worth budgeting for correctly rather than value-engineering it down to the cheapest available option.
Why a Crew That Already Works Clear Lake Matters
Skagit County permitting and inspection have their own rhythm, and a crew that's already pulled permits and passed inspections in this area knows what local inspectors are checking for on window rough-ins and flashing before the wall closes up. That familiarity shortens the back-and-forth on a new build and reduces the chance of a failed inspection holding up your framing schedule.
There's also a climate-familiarity piece that's easy to underestimate. A crew that's watched how moss establishes on north walls, how driving rain behaves against different wall orientations, and how humidity plays out over a Skagit County winter brings that pattern recognition to the flashing and sequencing decisions on your build — not as guesswork, but as installed experience with the actual conditions your windows will sit in for the next few decades.
Maintenance After Move-In
A correctly installed new-construction window is low-maintenance, but it isn't zero-maintenance. We recommend a simple annual check:
- Look at exterior caulk lines and trim joints for cracking or separation
- Check for any staining below window sills, which can indicate a flashing or sealant issue upstream
- Clear moss or algae buildup on sills and trim before it holds moisture against the wood or cladding
- Confirm weep holes (on units that have them) are clear and draining
Catching a small issue during a five-minute walk-around beats discovering it as interior water damage.
If you're framing a new build or addition in Clear Lake and want windows installed correctly the first time — sill pans, proper flashing sequence, and a schedule that works with your builder — we're happy to take a look at your plans and walk the site. Reach out for a free, no-pressure estimate using the form below.