 Skagit County
 Building New in Sedro-Woolley: What the Windows Actually Have to Handle
Sedro-Woolley sits in the Skagit River valley, and that location comes with its own version of Northwest weather — long stretches of steady, driving rain, heavy valley humidity, and a moss season that seems to start earlier and last longer every year. Add in the salt-laden marine air that moves through Skagit County off the Salish Sea, and you've got an environment that's genuinely hard on building envelopes. Windows are one of the biggest openings in that envelope, and on a new build, they're either installed correctly the first time or they become the source of a moisture problem five, ten, or fifteen years down the road.
New construction gives you an advantage that a remodel never will: you get to control the window opening, the flashing sequence, and the water-resistive barrier integration before siding, trim, or paint ever goes on. That's the whole point of this page — what a new-construction window installation needs to look like in a Skagit County climate, and why the framing stage is not the place to cut corners.
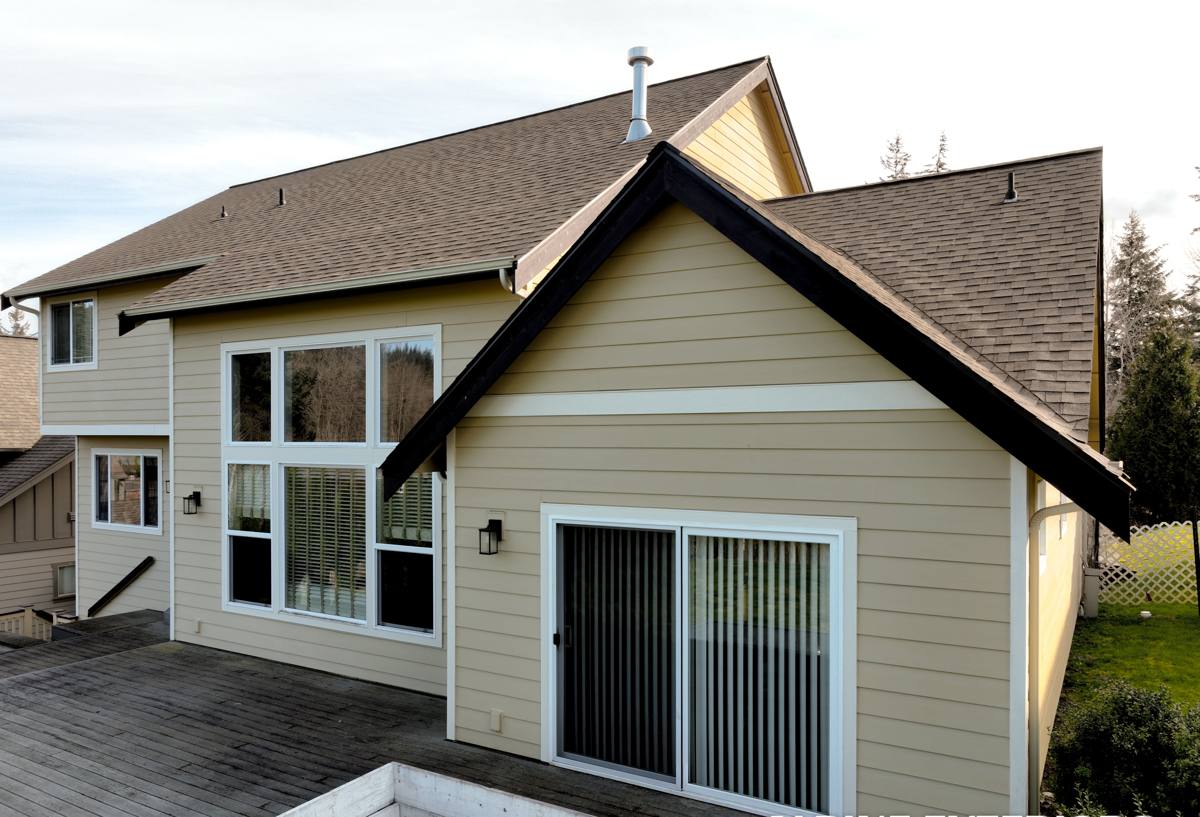
New Construction vs. Replacement: Why the Job Is Different
A lot of homeowners assume "installing windows" is one job. On a new build it isn't the same task as swapping out an old window in an existing wall, and the products and methods aren't interchangeable.
- Access to the rough opening. New construction gives full access to studs, sheathing, and the WRB before anything is closed in — that's what allows a proper flashing sequence.
- Nail-fin vs. block-frame products. New builds typically use nail-fin (flange) windows that integrate directly with the house wrap and flashing tape. Retrofits often use block-frame or insert windows that fit inside an existing opening.
- One shot to get it right. On a replacement, a failed seal usually shows up as a draft or fogging you can address later. On new construction, a bad flashing detail gets buried behind siding and trim — you may not see the consequence until there's rot or a stain on the interior sill.
Because of that, we treat new-construction window work as a sequencing job as much as an installation job. The window itself matters, but the order of operations — WRB, flashing tape, sill pan, window, head flashing, siding — matters just as much.
Choosing the Right Window for a Skagit Valley New Build
There's no single "best" window brand or material for every project — it depends on budget, the home's design, and how exposed the elevation is to prevailing rain. What we focus on with clients is matching frame material and glass package to how much weather a given wall will actually take on.
| Frame Material | How It Handles Skagit Moisture | Trade-Offs to Know |
|---|---|---|
| Vinyl | Won't rot; performs well if installed with a proper drainage path | Lower cost, but quality varies a lot between manufacturers |
| Fiberglass | Very stable in wet, temperature-swinging conditions; low expansion/contraction | Higher upfront cost, longer-lived in a damp climate |
| Wood-clad | Good performance if the exterior cladding and flashing are done correctly | Requires diligent installation and maintenance; more failure points if flashing is wrong |
| Aluminum | Durable but a poor thermal performer and prone to condensation in our humidity | We generally steer new builds away from it for anything but commercial-style openings |
Whatever material you land on, the glass package matters just as much as the frame in this climate. A dual-pane, low-E unit with warm-edge spacers is the baseline we recommend for Sedro-Woolley new builds — it manages condensation better in a valley that runs humid for a good part of the year, and it holds up to the temperature swings between cold, wet nights and warmer days.
Sizing and Orientation
Larger picture windows and expansive glass are popular in new-construction design right now, but every additional square foot of glazing is also additional square footage of seal, flashing, and thermal boundary. On elevations that catch the brunt of driving rain — typically west and south-facing walls in this part of the valley — we pay closer attention to head flashing detail and recommend against skimping on sill pan depth, regardless of how large the unit is.
What a Correct New-Construction Install Actually Involves
This is the part that gets skipped when a crew is moving fast or when window installation is treated as an afterthought behind framing and roofing. Done right, it's a sequence, not a single step:
- Rough opening check. Confirm the opening is square, level, and sized correctly before the window ever shows up on site.
- Sill pan flashing. A sloped, sealed pan at the base of the opening so any water that gets past the window has somewhere to go — out, not into the wall cavity.
- WRB integration. The water-resistive barrier (house wrap) is cut and lapped so water sheds over the top of the flashing at every layer, shingle-style, from the bottom up.
- Window fin flashing tape. Applied over the nail fin on the sides and top, lapped correctly with the WRB above it — this is the detail most often rushed, and the one most likely to cause a hidden leak.
- Setting the window. Shimmed, leveled, and fastened per manufacturer spec — not just to the rough opening, to the actual window's structural requirements.
- Head flashing. Installed above the window before siding closes it in, directing water around the opening rather than down behind it.
- Interior and exterior seal. Backer rod and sealant on the exterior, low-expansion foam or insulation on the interior — done in that order, never skipped.
Any one of these steps done out of sequence can undo the ones around it. A head flashing installed under the WRB instead of over it, for example, can direct water straight into the wall cavity instead of away from it — and that mistake won't show up until there's already damage.
Materials and Cost Factors Worth Understanding Up Front
Pricing on a new-construction window package depends on more than the unit cost itself. Homeowners and builders working with us usually want to understand what actually drives the number before they pick products.
| Factor | Why It Moves the Cost |
|---|---|
| Frame material | Vinyl is generally the lowest upfront cost; fiberglass and wood-clad run higher |
| Glass package | Upgraded low-E coatings, gas fill, and impact-rated glass all add cost but improve performance and comfort |
| Opening size and quantity | Larger openings and higher window counts affect both material and labor time |
| Elevation exposure | Openings on weather-exposed walls may warrant extra flashing detail or upgraded sealants |
| Access and timing | Coordinating install between framing and siding on a tight build schedule affects labor efficiency |
We'd rather walk a homeowner or builder through these trade-offs honestly than push the most expensive package by default. On some elevations, a mid-tier vinyl window installed correctly will outperform a premium unit installed carelessly.
Our Process on a New Build
We coordinate directly with the general contractor or homeowner to slot into the build schedule at the right point — after framing and WRB, before siding closes the walls in. On site, that typically looks like:
- A walkthrough of rough openings with the framer or GC before install day, to catch sizing or squareness issues early
- Sill pan flashing and WRB lapping done to manufacturer and code-minimum standards, at minimum — often beyond it on exposed elevations
- Setting and shimming every unit plumb, level, and square, then verifying operation before moving to the next opening
- Head flashing and interior/exterior sealing completed before we sign off, not left for another trade to "figure out later"
- Photo documentation of the flashing details before siding covers them — so there's a record of what's behind the wall
That documentation step matters more than people expect. Once siding goes up, nobody can see the flashing again without tearing into the wall. Having a record protects the homeowner and gives the builder something concrete if a warranty question ever comes up.
Mistakes We See on New Builds (And How We Avoid Them)
Most window problems on new construction aren't the window's fault — they're installation sequencing errors. The most common ones we run into when we're brought in to fix someone else's work:
- Flashing tape applied under the house wrap instead of lapped over it, directing water into the wall instead of around it
- Missing or shallow sill pans, so any water that gets past the window has nowhere to drain but into the framing
- Windows fastened to the rough opening without proper shimming, causing operational problems or stress cracks in the frame over time
- Sealant used as the only line of defense, with no mechanical flashing behind it — sealant fails eventually, flashing shouldn't have to
- Interior gaps foamed before the exterior seal is complete, trapping moisture that has nowhere to escape
Every one of these is preventable with the right sequence and a crew that isn't rushing to get to the next opening.
Why It Matters to Hire a Crew That Already Works Sedro-Woolley
Window flashing details that work fine in a drier climate aren't necessarily enough for Skagit County. A crew that's used to building in a place with less rain and a shorter wet season may treat flashing tape and a bead of sealant as sufficient. In a valley that sees sustained rain events and a moss season that keeps surfaces damp for months, that standard isn't enough — water finds the gaps eventually.
Working Sedro-Woolley and the surrounding county regularly means we've seen which details hold up over years of this specific weather pattern and which ones come back as callbacks. That's not a marketing point — it's the difference between a window package that's still tight in ten years and one that starts showing staining or soft trim well before then.
A Simple Checklist Before Windows Go In
Whether you're a homeowner managing your own build or working through a general contractor, these are worth confirming before window day on the schedule:
- Rough openings have been checked for square and correct sizing
- WRB (house wrap) is installed and ready for proper shingle-lap integration
- Sill pan flashing is planned for every opening, not just the most exposed ones
- Frame material and glass package match the home's design and exposure, not just the lowest bid
- The installer will document flashing details with photos before siding closes the wall
- There's a clear plan for who installs head flashing and when, relative to siding installation
If you're planning new construction or an addition in Sedro-Woolley and want a straightforward look at what your window package should include, we're happy to provide a free, no-pressure estimate — walk the plans or the framed openings with us, and we'll tell you honestly what the job needs.