 Skagit County
 Window Installation Built for Concrete's Climate
Concrete sits in the upper Skagit River valley, tucked against forested hillsides where rain lingers longer and humidity has more time to work into a house than it does out on the flats. While the marine air and salt exposure that hit the county's western, coastal-facing communities are less of a factor this far inland, Concrete homes deal with their own version of the same problem: long stretches of driving rain, heavy tree cover that keeps siding and trim damp, and a moss season that can run most of the year on north-facing walls. Windows are one of the first places that moisture problem shows up, because every window is a hole cut into the weather barrier of your house. How that hole gets flashed, sealed, and finished determines whether you get a window that lasts twenty-plus years or one that starts leaking into the wall cavity within a few winters.
We install windows in Concrete and throughout Skagit County with that reality in mind. This isn't a generic window swap — it's a job that accounts for how water moves around this specific area's homes, and what it takes to keep it out.
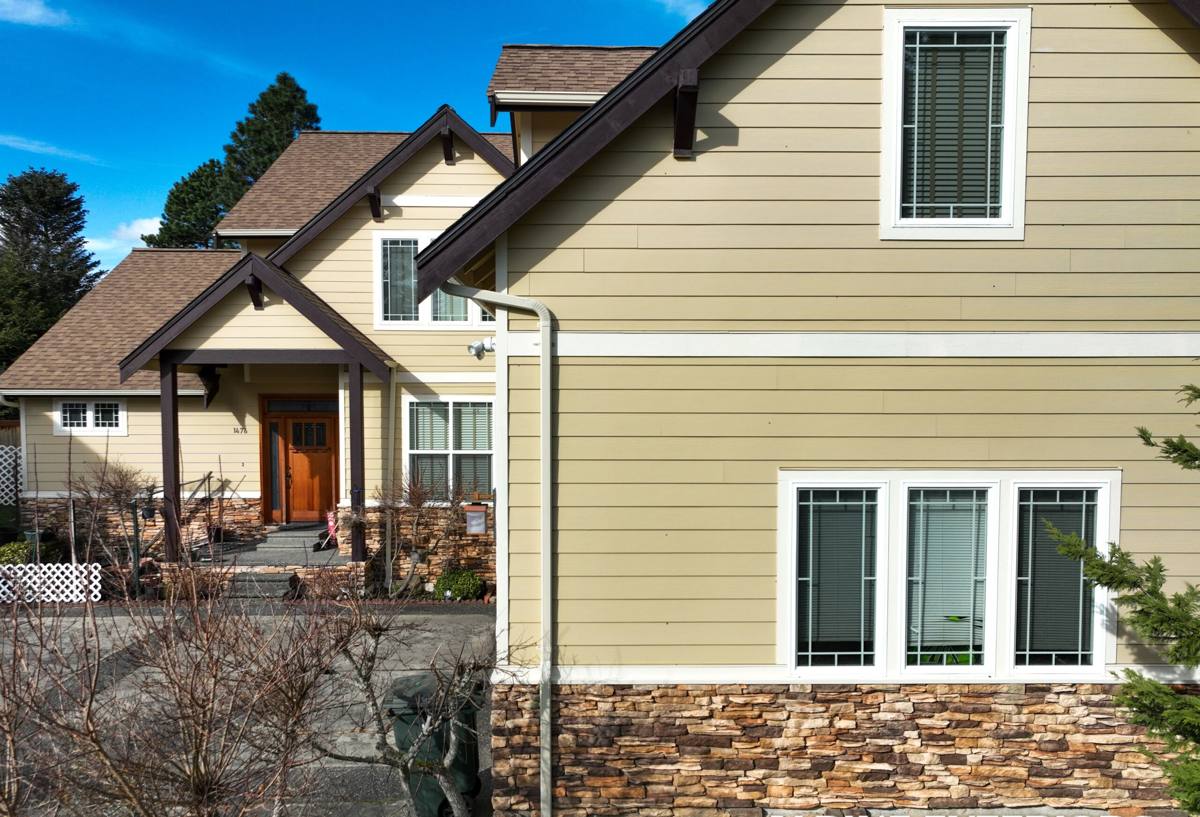
What Concrete Homes Need From a Window Install
Housing stock in and around Concrete ranges from older wood-frame homes built decades ago to newer construction on the outskirts of town. Both types share common vulnerabilities in this climate:
- Older homes often have original wood or early-generation vinyl windows with flashing details that were never built to modern water-management standards — or no formal flashing at all.
- Shaded, tree-heavy lots mean siding and trim around windows stay damp longer after a storm, which accelerates rot at the sill and casing if the window isn't properly sealed.
- North- and east-facing walls, common on lots backed up against hillsides, tend to grow moss and mildew fastest and are usually the first place we find soft trim or failed caulk during an inspection.
- Wood siding and trim, still common on older Concrete homes, needs window flashing and sealant details that work with wood movement, not against it.
A correct install has to solve for all of this, not just fit a new window into an old opening and caulk around the edges.
What a Correct Window Installation Actually Involves
It Starts With the Opening, Not the Window
Before any new window goes in, the opening gets inspected. We check the sill, jack studs, and header for soft wood or water staining — signs that a previous window leaked. In a wet climate like Skagit County's, this step matters more than people expect. Installing a beautiful new window into a rotten or improperly flashed opening just hides the problem for a while; it doesn't fix it.
Flashing Is the Part That Actually Keeps Water Out
The window itself is mostly cosmetic when it comes to water management — flashing is what does the real work. A correct install uses a layered, shingle-style approach:
- Sill pan flashing to catch and direct out any water that gets past the window itself.
- Self-adhered flashing tape at the jambs, lapped correctly over the sill pan.
- Head flashing that laps over the jamb flashing and tucks behind the house wrap or siding above.
- Proper integration with the existing weather-resistive barrier, so water sheds down and out rather than behind the flashing.
Skip any one of these steps, or get the lapping order backwards, and you've built a path for water to enter the wall — it just may not show up for a year or two, which is exactly the kind of failure that's expensive to trace later.
Sealing and Insulating the Gap
Once the window is set, level, and secured, the gap between the window frame and the rough opening gets filled with low-expansion foam or backer rod and sealant — not just packed with fiberglass insulation, which does nothing to stop air and moisture movement. Exterior sealant joints are tooled properly so they shed water instead of trapping it.
Finish Work That Matches the Home
Trim, casing, and any exterior caulking are finished to match the existing look of the house, and interior stops or trim are reinstalled cleanly. On older Concrete homes with wood trim, we pay particular attention to back-priming and sealing cut ends, since exposed end grain is where wood trim rots first in a wet climate.
Our Process, Start to Finish
| Step | What Happens |
|---|---|
| 1. On-site assessment | We inspect existing windows, openings, and surrounding siding/trim for hidden rot or past water damage. |
| 2. Honest scope and quote | You get a clear breakdown of what's needed — including any repair work the opening requires before a new window can go in. |
| 3. Careful removal | Old windows come out without unnecessary damage to surrounding siding or interior finishes. |
| 4. Opening repair (if needed) | Any soft or damaged framing, sheathing, or sill material is repaired before flashing begins. |
| 5. Flashing and installation | New window is set plumb, level, and square, with full sill-pan-to-head-flashing water management. |
| 6. Sealing and finish | Foam/backer rod insulation, exterior sealant, and trim finish work to match the home. |
| 7. Final walkthrough | We check operation, seals, and cleanup with you before calling the job done. |
Replacement vs. New Construction Windows
One decision that comes up often on older Concrete homes is whether to use a replacement (insert) window that fits into the existing frame, or go with a full new-construction window that requires removing trim and siding down to the rough opening. Both have a place, and the right call usually comes down to the condition of what's already there.
| Factor | Replacement (Insert) Window | New Construction Window |
|---|---|---|
| Existing frame condition | Works well when the old frame and sill are still sound | Necessary when there's rot or water damage in the framing |
| Labor and disruption | Faster, less disturbance to siding/trim | More labor — siding and trim removed around the opening |
| Flashing access | Limited — relies on existing flashing being adequate | Full access to install new flashing correctly, top to bottom |
| Best fit | Sound openings, budget-conscious upgrades | Homes with known water intrusion history or a full siding project underway |
We'll tell you honestly which category your windows fall into after inspecting the openings — not just sell whichever option is easier to install.
Signs It's Time to Replace, Not Repair
Not every window problem means full replacement, but in a climate like Skagit County's, certain signs point clearly toward it:
- Soft, spongy, or discolored trim and sill material around the window
- Fogging or moisture between panes on double- or triple-glazed windows, meaning the seal has failed
- Visible gaps, drafts, or daylight around the frame when the window is closed
- Difficulty opening, closing, or locking due to warped frames or sashes
- Persistent moss, algae, or dark staining on the siding directly below a window — often a sign water has been running out of a failed seal for some time
- Single-pane or very old dual-pane glass that leaves rooms cold and lets in noise from wind and rain
Why Choose an Installer Who Already Works in Concrete
Window installation isn't a one-size-fits-all trade. A crew that mostly works in drier climates, or that treats every home the same regardless of siding type and exposure, can miss the details that matter here. Working regularly in Skagit County means we already know which wall orientations tend to hold moisture, how older wood-sided homes in this area were originally built and flashed, and what it actually takes to keep water out through a wet Pacific Northwest winter — not just how to fit a window into a hole.
We also stand behind the workmanship on every install, and we're upfront if a job needs more than a straightforward window swap — like trim repair or sheathing replacement — before it goes in. You'll know what you're paying for and why.
Cost Factors to Expect
Window installation pricing varies based on a handful of real factors rather than a flat per-window rate:
| Factor | Why It Affects Cost |
|---|---|
| Window size and type | Larger units, specialty shapes, or higher-performance glass cost more than standard sizes |
| Replacement vs. new construction | New construction involves more labor for siding/trim removal and flashing work |
| Opening condition | Hidden rot or water damage adds repair time before installation can proceed |
| Number of windows | Whole-house projects typically bring a better per-window rate than single replacements |
| Trim and finish work | Matching existing wood trim or custom casing adds time versus standard vinyl trim |
We give straightforward, itemized quotes so you can see exactly what's driving the price — no vague lump-sum numbers.
Maintaining Your Windows After Installation
A properly installed window still needs basic upkeep in this climate. A quick seasonal check — clearing debris from tracks and weep holes, inspecting exterior caulk lines for cracking, and keeping gutters clear so water isn't sheeting down over window heads — goes a long way toward protecting the investment. If you ever notice moss creeping onto trim near a window or a caulk line starting to separate, it's worth having it looked at before the next wet season rather than after.
If you're planning a window project in Concrete or anywhere else in Skagit County, we're happy to take a look and give you a straightforward, no-pressure estimate. Use the form below to get started.