 Skagit County
 New-Construction Windows Built for Concrete's Climate
Concrete sits in the foothills of the North Cascades along the Skagit River, and that location comes with its own weather personality. Homes here see more annual rainfall than towns closer to Puget Sound, longer stretches of saturated ground, and the kind of persistent damp that keeps moss growing on roofs and siding most of the year. When you're building new, the window installation is one of the few places where a mistake doesn't show up right away — it shows up two or three winters later as a stain on the drywall or a soft spot in the sheathing. Getting it right the first time, while the wall is still open, is the whole game.
"New-construction windows" refers to a specific installation method, not a specific window product. These are windows with a nailing fin that gets integrated directly into the wall's water-resistive barrier (WRB) before siding goes on, as opposed to "replacement" or "pocket" windows that get inserted into an existing frame during a remodel. New construction gives us full access to the rough opening, which means we can build proper drainage into the assembly instead of working around what's already there.
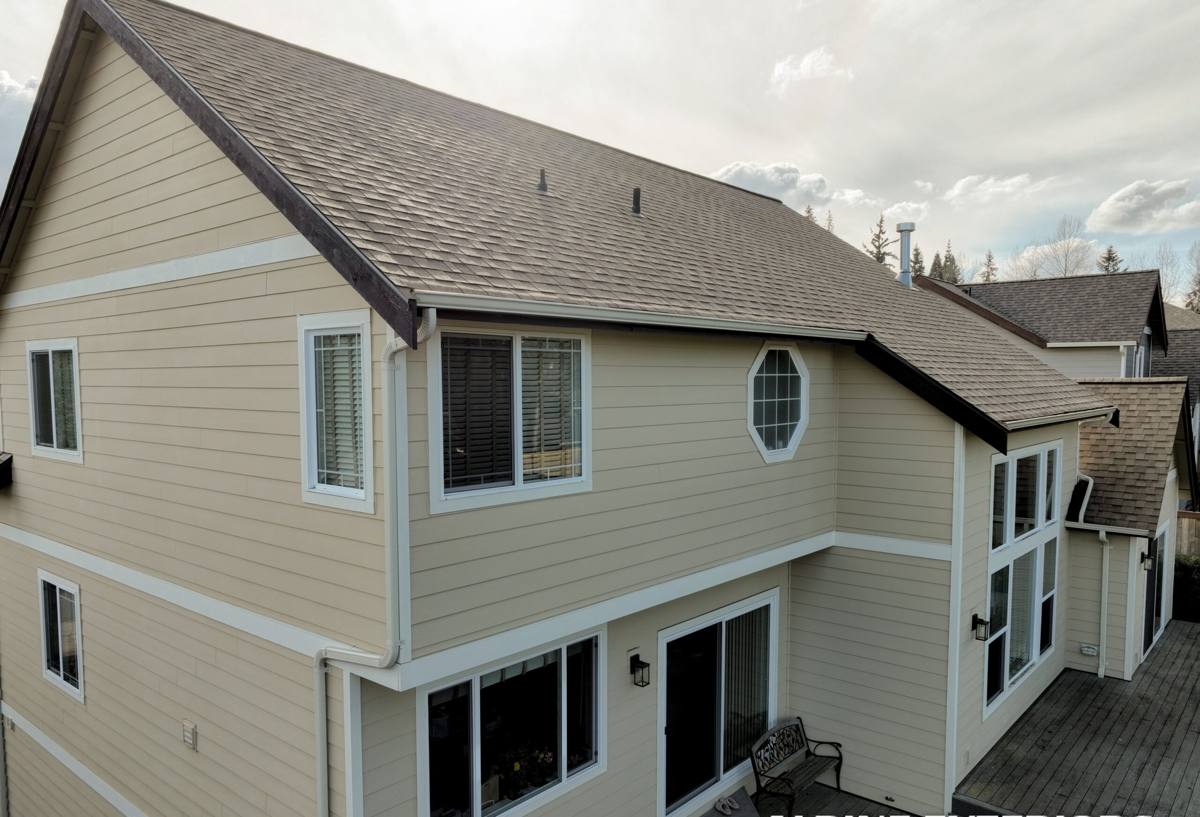
Why Skagit County Weather Changes How This Job Should Be Done
Every window installer will tell you they flash their windows correctly. Far fewer actually build a full drainage plane that assumes water is going to get behind the siding — because in a place like Concrete, with driving rain and long wet seasons, it will. The difference between a window that lasts the life of the house and one that causes a rot repair in year eight usually comes down to a handful of details:
- Whether the rough opening has a sloped sill pan, or just flat sheathing under the window
- Whether flashing tape laps in the correct shingle order (bottom to top, so water sheds outward, not inward)
- Whether the WRB is integrated with the flashing so water is directed out over the siding below, not trapped behind it
- Whether the window is set plumb, level, and square before fasteners go in — a racked frame stresses the seals and sash over time
- Whether the interior air seal is done with the right material, since air leaks carry moisture into the wall cavity even when the exterior looks fine
None of this is exotic. It's careful sequencing, done in the right order, with materials that are compatible with each other. The problem is that it takes more time than the shortcut version, and on a job site under schedule pressure, the shortcut version is what often gets built.
Moss Season and Moisture Cycling
Skagit County's long moss season isn't just a roofing and siding issue — it's a sign of how much moisture sits against a building envelope for months at a time. Wood, sheathing, and even some trim materials go through repeated wet-dry cycles over a Concrete winter. A window opening that's sealed but not properly drained will hold that moisture against the framing instead of shedding it, and that's where slow rot starts. Building a drainage path into the installation from day one is cheap insurance against a problem that's expensive to fix later.
What a Correct New-Construction Window Installation Involves
1. Rough Opening Preparation
Before a window ever goes in, the rough opening needs to be checked for square and properly sized with the right margin for shimming. We install a sloped sill pan at the base of the opening — this is the single most important moisture-management detail in the whole installation, because it gives any water that does get past the window a way out instead of a place to pool.
2. Flashing Integration
Flashing tape and the window's nailing fin get integrated with the WRB in a specific shingle-lap order: sill pan first, then jamb flashing up the sides, then the window itself, then head flashing over the top, lapped under the WRB above it. Done correctly, water always moves downward and outward, never behind a layer that's supposed to be protecting the wall.
3. Setting the Window
The window gets shimmed plumb, level, and square, then fastened per the manufacturer's schedule — not just wherever a nail happens to sink easily. An out-of-square window binds, leaks air around the sash, and can void the manufacturer's warranty.
4. Interior and Exterior Sealing
Low-expansion foam or backer rod and sealant on the interior for an air seal; compatible exterior sealant at trim and siding transitions. We match sealants to the window and siding materials being used — the wrong sealant chemistry against certain finishes can cause staining or adhesion failure.
5. Siding Tie-In
The final step is making sure trim and siding integrate with the flashing system without covering up or short-circuiting the drainage path. This is where a crew that installs both windows and siding has an advantage — there's no gap in accountability between "who did the window" and "who did the siding" if something doesn't line up.
Choosing Windows for a Concrete Build
Product selection matters less than installation quality, but it's still worth getting right. In a high-moisture, tree-shaded environment like Concrete, we generally steer homeowners toward vinyl or fiberglass frames with factory-applied nailing fins and a documented flashing detail from the manufacturer. Wood-clad windows can look great, but they demand more diligent exterior maintenance in a climate this wet, and we're upfront about that trade-off rather than letting a homeowner find out the hard way.
| Frame Material | Moisture Behavior | Maintenance in Skagit County Climate |
|---|---|---|
| Vinyl | Won't rot or absorb water; dimensionally stable | Low — occasional cleaning |
| Fiberglass | Very stable, minimal expansion/contraction | Low — durable finish, minimal upkeep |
| Wood / Wood-clad | Attractive but vulnerable at end grain and joints if seals fail | Higher — periodic finish inspection and touch-up |
| Aluminum | Durable but more prone to condensation without thermal breaks | Moderate — check weep holes and seals |
We also pay attention to energy performance ratings appropriate for Washington's energy code — U-factor and solar heat gain matter for comfort and heating costs through a Cascade foothills winter, where temperatures swing more than they do closer to the Sound.
Our Process, Job to Job
- Plan review: we look at window schedules and rough opening sizes before framing is finalized, so there are no surprises on install day.
- Site coordination: we work directly with the builder or framer on timing, so windows go in at the right point in the WRB sequence — not before, not after.
- Installation: sill pan, flashing, window set, air seal, exterior seal — done in that order, every time.
- Documentation: photos of the flashing and sill pan before they're covered by siding, so there's a record of what's behind the finish material.
- Final walkthrough: we check operation, seals, and trim fit before calling the job complete.
What to Ask Before Hiring a Window Crew for New Construction
A lot of exterior contractors will install windows, but not all of them have a documented flashing method they can explain to you. Before hiring, it's worth asking directly:
- Do you install a sloped sill pan on every opening, or only when specified?
- Can you walk me through your flashing lap order?
- Do you take photos of the rough opening and flashing before siding covers it?
- What sealants do you use, and are they compatible with the window and siding manufacturers' warranty requirements?
- Have you worked on builds in Skagit County before, and how does that change your approach?
If a contractor can't answer these clearly, that's worth noting before the walls close up — because once siding is on, verifying what's underneath means tearing it back off.
Why Local Experience on Concrete Builds Matters
Concrete's mix of river-valley humidity, forest cover, and foothill rain patterns isn't identical to what a crew sees on a job in a drier part of the state, or even in some of the more open, wind-exposed parts of Skagit County. A crew that regularly works this specific area already knows how much margin to build into a drainage plane, which sealants hold up through a wet winter, and how local framing and permitting norms typically run. That familiarity shows up in fewer callbacks and fewer surprises once the siding goes on.
If you're planning new construction in Concrete and want your windows installed right the first time, we're happy to walk through your plans and give you a straightforward, no-pressure estimate — just fill out the form below.